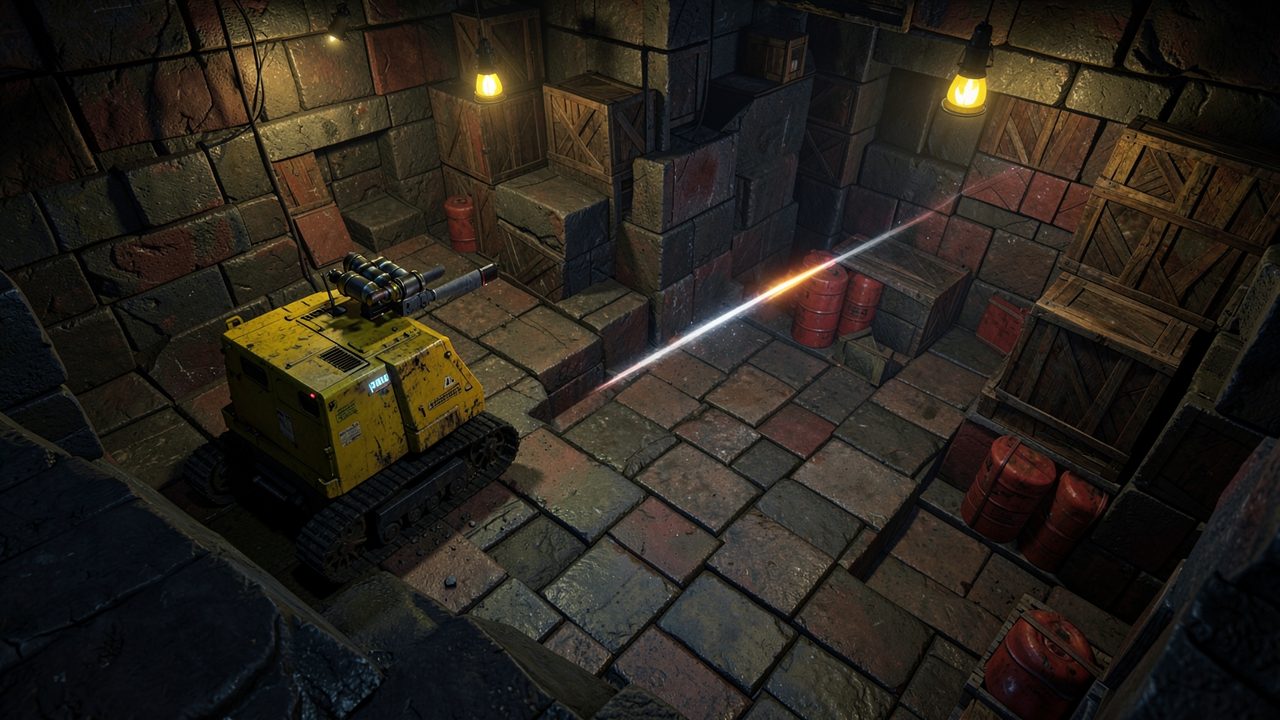
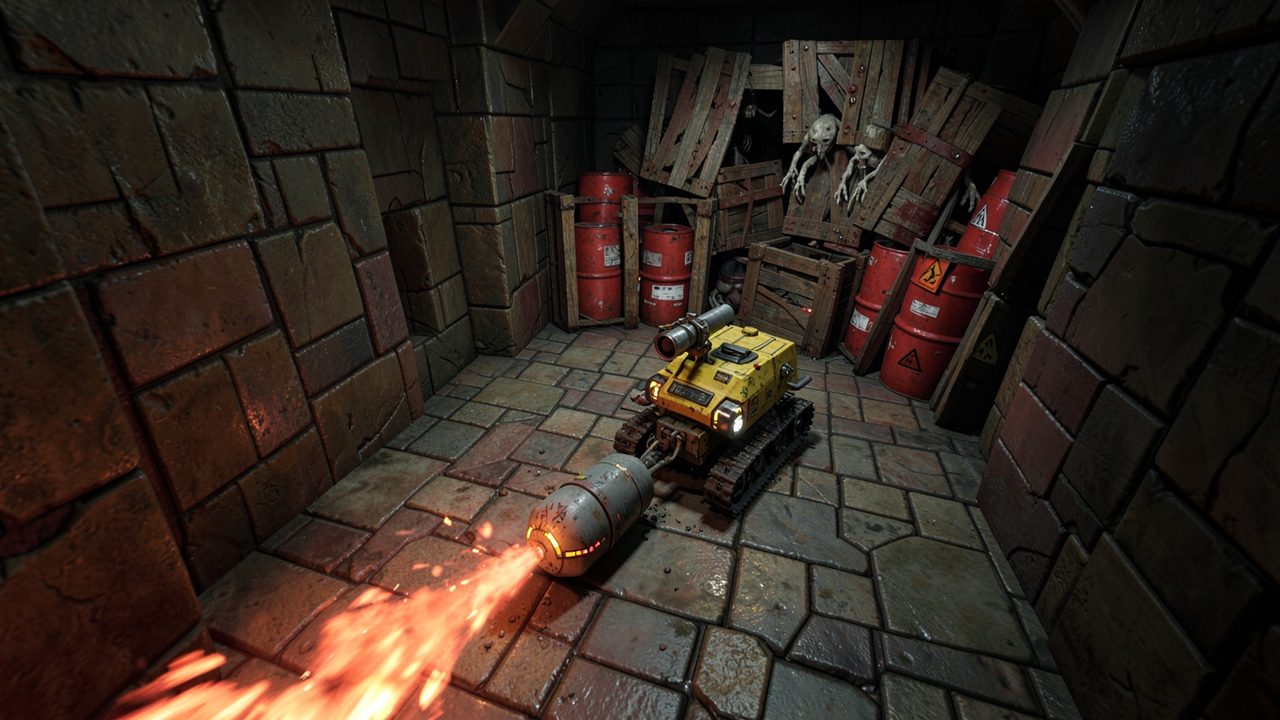
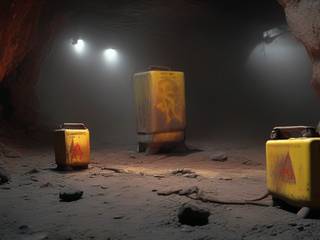
Three-quarter overhead view of a dark mine cavern of stone-block walls, wooden crates and red barrels under yellow lamps, where a boxy yellow tracked mining robot fires a glowing streak down a corridor toward the crates.

AAL Bazooka BomberUnderground Rocket Demolition

Reactorcore's Personal Game Design Project

Free to forkNo licence and no copyright claim: build this game under your own name, or lift one idea from it. Why?

Game overview

AAL Bazooka Bomber is a top-down grid action game in the spirit of Bomberman, with one twist that changes everything: you don't set your bombs down, you launch them. Fire, and a rocket-propelled bomb leaves your tile and slides straight down the grid in the direction you're facing, until it hits a wall or another bomb, and then it goes off in a cross of fire.

You pilot a small mining mech clearing new colony mines of the monsters that were found sleeping in the rock. A mine is a campaign of ten generated maps with a boss at the bottom, and when it's clear, the colony gets its mine and you move on to the next. As the design puts it, this is less a bomberman than a rocket-propelled-grenade man.

It takes its grid and chain reactions from Bomberman and Super Bomberman 2, its blocks that take several hits from Breakout, and its pushing and pulling of blocks from Sokoban.

Target audience

Players who love Bomberman's chain reactions and tidy grids, but find dropping a bomb and running away a little passive.

They want explosions they aim, a puzzle-like map to take apart, and short maps that add up to something.

The controls fit under one hand: WASD and the keys around it. The design wants it playable one-handed.

Game's purpose

Power and excitement: chains of explosions tearing through a packed mine, one after another.

Play and mastery: range, fuse timing, backblast and reading the fire before it lands.

Meaning: every campaign finishes something. A mine gets cleared and opened; nothing is ever redone for nothing.

It deliberately avoids draining safety (every blast is telegraphed and every hit is followed by a generous grace period) and respect for your time (no upgrade grind between runs).

Core concept

In Bomberman, power-ups stack until you're maxed out, and from then on every pickup is meaningless. And a game where you clear the same kind of stage forever, with nothing ever changing, ends up feeling pointless.

Here power-ups wear out with use, so your firepower rises and falls with every map, and the bomb itself becomes something you aim.

And every campaign completes something: a cleared mine is added to the colony's growing network, and it stays cleared.

A rust-red alien desert at dusk with a second moon in the sky: a mining colony of steel headframes, conveyor belts, domes and lit buildings sits beside a huge dark cave mouth in the cliffs.
"The new mines are ready to dig. Something was already sleeping down there."

Lore and story

The colony mines

The game is set in the AAL Universe, at the end of its Golden Age. Civilization has left scarcity behind and is spreading across the stars, and every new colony starts the same way: survey the rock, sink a mine, and feed the planet's materials into the chain that builds everything else.

What sleeps in the rock

This is the era when the first space monsters are found: dormant ones, buried and waiting. Colony crews keep breaking into them. Pale crawlers in the walls, burrowing brutes, nests that wake when the drills come near, and at the bottom of every infested mine, something big that floats.

Monsters can't be reasoned with or moved somewhere else. A mine with a nest in it can't be worked, and the colony can't grow without it.

The bazooka miner

So the colonies send in a small, tough, tracked mining mech built for blasting tunnels, operated remotely from the surface. Its launcher fires rocket-propelled charges that slide along a straight line and blow rock apart in a cross. Pointed at a nest, it works just as well. Its blast shield was built to take the heat of its own charges, which is handy, because in a mine the backblast is usually yours.

The job right now

Go down, level by level, from the entrance to the nest at the bottom. Clear out everything that's awake, take apart the thing that keeps waking the rest, and come back up. Then the crews move in.

Controls and interface

You move your mech one tile at a time across a grid seen from above. Everything sits under the left hand, and the menus use the same keys, so the game can be played one-handed.

Move

W A S D
Move; walking into a crate or barrel pushes it
R
Pull: face a block and step back with it one tile

Bazooka

F
Launch a bomb in the direction you're facing
Q
Detonate your bombs now
Space
Hold up the blast shield

Items

Z X C
Consumable slots A, B and C: tap to use or toggle, hold to swap
E
Interact

Menus

E
Yes, enter
Q
No, back

Movement forgives near misses the way classic Bomberman does: walk into a block's edge when you were almost past the opening, and the mech slides sideways into the gap. On the left of the screen, your active power-ups form a vertical list of icons, each with the number of uses it has left, and below them your three consumable slots show their uses and whether they're switched on or off.

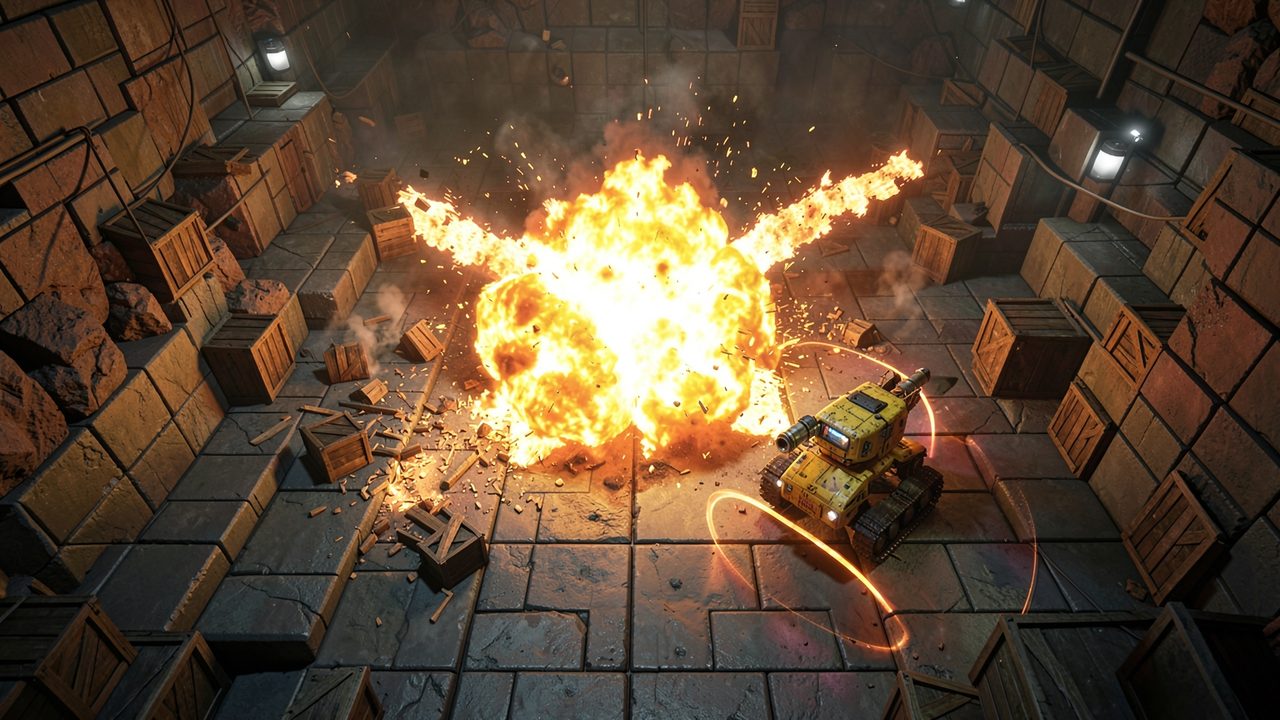
Top-down view of a mine grid of stone blocks and crates: a big fireball bursts in the middle, jets of fire shooting out sideways and crates splintering, while a small yellow tracked robot sits just outside it inside a thin orange ring of shield.
"A blast flashes for half a second before its fire appears: just enough time to raise the shield if you misjudged the range."

Game layers

  1. 01 · Moment-to-moment

    One map of the mine

    Each map is a level of the mine: a grid of crates, stone and barrels, with monsters and their burrows somewhere inside. You come in at the top left, and the way down is at the bottom right. Clear out every hostile, then reach the exit.

    The mech takes three hits, and each hit is followed by two seconds of invulnerability, for monsters too. On arrival you get fifteen seconds of grace to look around, which ends early when you first fire, leaving two seconds to get clear of your own fire.

    If all three hits are gone, the wreck is winched out and a fresh mech is lowered in at the map's entrance. The map stays exactly as you left it: broken blocks stay broken and beaten monsters stay beaten. Only the power-ups that were on the old mech are lost with it.

  2. 02 · Low metagame

    A mine, ten maps deep

    A campaign is one mine: ten maps, one after another, with a boss in the last. Maps are generated with their own mix of empty floor, soft and hard blocks, props and monsters. Early levels are calmer and later ones more chaotic, but not necessarily harder.

    Every campaign also gets two color profiles, and its levels shift from one to the other a step per map: floor, walls and frames drift through two or three neighboring hues, getting brighter or darker, more vivid or more muted, so you can feel how deep you are. When the boss is beaten, the nest goes up in a string of small explosions, then a big one, a white flash, and it's gone.

  3. 03 · High metagame

    The colony network

    Between campaigns you're on the overworld: a map of the colonies and their mines. Every mine you clear is added to the network and starts production, and its light stays on. The map slowly fills with working mines, a record of every one you made safe.

    There's always another colony breaking new ground, so there's always another mine to clear. But no mine is ever cleared twice, and nothing you finished is ever rolled back. The design is explicit about this: don't redo or repeat; advance and complete.

  4. 04 · Practical game flow

    A map or a mine

    Pick a mine on the overworld and you're on the first map in seconds. A map takes a few minutes; a whole mine, an evening. Stop between any two maps and the mine waits for you, and when you come back, the overworld shows how far down you got.

Game modes

There's one mode, the mine campaign. When you choose the next mine, you also choose its mood:

MoodWhat the maps are like
GentleRoomier maps with fewer monsters and fewer barrels, for a relaxed dig
StructuredOrderly layouts of corridors and block rows, like a classic Bomberman stage
ChaoticDense, wildly mixed maps full of barrels waiting for a chain reaction
The colony networkEndless: there's always another mine.
A mineTen maps and a boss: an evening.
A mapClear the monsters, reach the exit: a few minutes.
A blastLaunch, flash, fire: three seconds.

Features and mechanics

  1. The heart of it

    Bombs on rails

    A bomb is placed on your own tile and launched at once, centered on the grid, in the direction you were facing. It flies straight, as if on a rail, and stops only when it hits a wall or another bomb. Monsters, power-ups and you don't stop it; it passes over all of them.

    By default it travels three tiles on a three-second fuse. Press detonate to set off your bombs early, and every bomb launched leaves a short backblast of fire on the tile behind you, like a real bazooka's, so where you stand when you fire matters as much as where you aim.

    Since you can only have a few bombs out at once, the skill is in the placement: one bomb sent down a corridor to stop against a wall, a second sent after it to stop against the first, and a chain of crosses that clears half the map.

    A small yellow tracked mining robot in a stone-block corridor, a flame-tailed bomb canister flying toward the viewer; behind it, red barrels and broken crates with pale, many-limbed cave creatures clinging to them.
    "A launched bomb flies straight along the grid and stops only at a wall or another bomb."
  2. Readable fire

    Flash, fire, linger

    An explosion is never instant. First comes a growing flash on impact; half a second later the whole cross of fire appears at once, as far as your power-ups reach. The fire then lingers for a second and a half, and anything that enters a burning tile, you or a monster, takes a hit.

    Chain reactions never go off all together either. Each explosion joins a queue and goes off 0.3 seconds after the last, so a big chain rolls across the map where you can watch it, rather than happening in a single frame.

    That half-second flash is your cue for the blast shield. It's built against flame, so it holds your own fire well, but monster projectiles heat it up fast. It slows you down while it's up, and when its heat meter fills, it has to cool before you can raise it again.

  3. Power that comes and goes

    Power-ups that wear out

    Broken blocks reveal power-ups, and you can stack them up to a limit. Each one has a number of uses, between ten and sixty depending on the kind, and loses one every time you do what it improves, mostly every time you fire. No timers: it lasts as long as you use it, not as long as you wait.

    Power-upEach one adds
    RangeOne more tile of flight, and a fifth of a second more fuse
    Fire lengthOne more tile on each arm of the cross
    Fire powerOne more hit of damage to every tile it reaches
    PenetrationFire carries on through one more block instead of stopping at the first
    Bomb quotaOne more bomb out at the same time
    Run speedFaster movement
    BackblastOne more tile of fire behind you

    Several can run out at once, leaving you suddenly lighter, but with free slots for whatever the next blocks reveal. And power-ups lying on the floor burn up if fire reaches them, so firing wildly destroys your own supply. The way to hit hard is to fire carefully, collect what you uncover and let the stack build, so each shot does more of the work.

  4. Three slots, many tricks

    Consumables

    Three slots hold consumables, which change your next launches or perform an action, and may have several uses each:

    ConsumableWhat it does
    Shaped chargeNo backblast, and a fuse a quarter shorter
    Impact fuseThe bomb goes off the moment it hits a wall or a monster
    AirburstA bomb that stops in the open goes off right away instead of waiting
    Cluster bombAfter going off, the bomb leaves another in the same spot, every two seconds: one, two, three or five times over
    Fire branchesThe arms of the cross sprout side branches, up to a tapering tree of fire at the top level
    Sequence detonatorBombs in a chain go off one by one, with a delay, instead of together
    Slab chargeA solid rectangle of fire instead of a cross
    Dash, armorA quick dash, or extra hits to survive
  5. A map you take apart

    Crates, stone and barrels

    Every solid thing on the map can be destroyed, it's just a question of how many hits. Crates are wood, metal or reinforced, taking one, three or five hits. Stone is soft, hard or obsidian and takes ten to sixty, so it's for long sieges or heavy fire power. Explosive barrels come in five sizes, from a pop to a crater, and turn any careless shot into a chain reaction.

    Crates and barrels can be pushed by walking into them, or pulled one tile back with you, as in Sokoban, to clear a lane, build cover or drag a barrel up to a nest.

    Because you have unlimited bombs and everything solid breaks, every map can always be finished, even when the generator boxes you in. The challenge is never whether you can get through. It's not blowing yourself up and not getting caught on the way.

  6. What's down there

    Monsters and the thing at the bottom

    Small, medium and large burrows release monsters that live by the same rules you do: they walk the grid, collide with blocks and walls, and carry weaker versions of the boss attacks below. The tougher ones come singly: an elite one tile across that takes five hits, a miniboss two by two that takes fifteen, and the boss, three by three, that takes forty.

    Bosses ignore the grid. They float slowly around the map, bouncing off its walls, and each has one or two attacks from a list: launching bombs that can't hurt it or its minions, spawning minions, ramming you, drifting over you and burning the tile beneath, firing slow bursts of shots, or setting tiles on fire with a warning of two seconds or more. If one ever ends up outside the map's borders, it heads straight back to the center before its walls work again, so no boss can get stuck or hide.

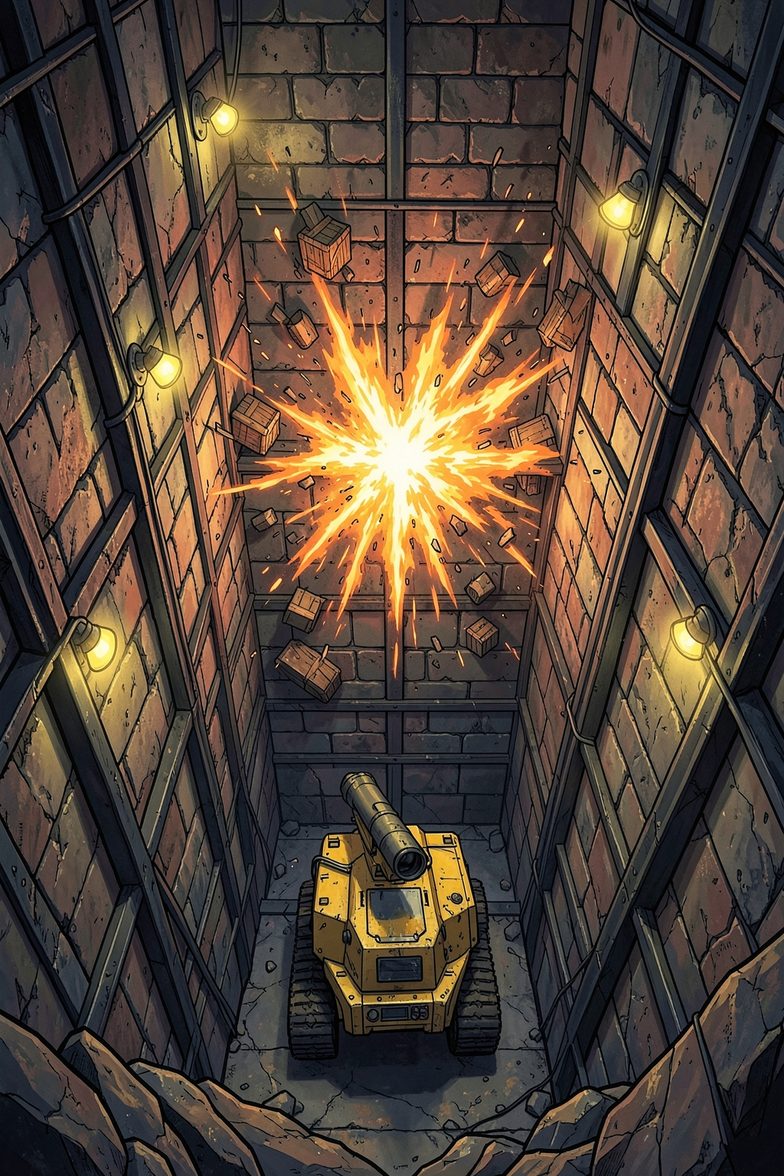
Box art: looking down a tall shaft of stone blocks lit by yellow lamps, a star-shaped burst of fire and flying crates halfway up, and a yellow tracked robot with a cannon waiting at the bottom.

Colony work order

AAL Bazooka Bomber: Underground Rocket Demolition

Site: new shaft, ten levels. Status: infested. Requested: one bazooka miner.

Clear every level from the lift to the bottom chamber. Remove the nest. Mind the barrels. Mind your backblast. Do not let the crews down until the lights are green.

The colony starts digging the day you're done.